
 Web Front-end
Vue.js
Detailed graphic explanation of how to integrate the Ace code editor in a Vue project
Web Front-end
Vue.js
Detailed graphic explanation of how to integrate the Ace code editor in a Vue project
Detailed graphic explanation of how to integrate the Ace code editor in a Vue project
Apr 24, 2023 am 10:52 AM
Preface
In the process of integrating Ace, I found that the information found on the Internet is relatively fragmented, and there are relatively few Chinese materials. This article mainly records and organizes it to facilitate subsequent reference
- Integrating the Ace code editor into the Vue project
- Chinese comparison of Ace configuration items
- Stepping into the trap: Solving the Ace editor cursor misalignment problem
- Optimization: Use ace-builds on demand
Introduction
Ace is an embeddable code editor written in JavaScript. It matches the functionality and performance of native editors like Sublime, Vim, and TextMate. It can be easily embedded into any web page and JavaScript application. Ace is maintained as the primary editor for the Cloud9 IDE and is the successor to the Mozilla Skywriter (Bespin) project.
- Ace official website
- Online demo: ace.c9.io/build/kitch…
Features
- Syntax highlighting for over 110 languages(Can import TextMate/Sublime Text .tmlanguage files)
- More than 20 themes (can import TextMate/Sublime Text .tmtheme files)
- Automatic indentation and upgrade
- An optional command line
- processing Huge documentation (four million lines seems to be the limit!)
- Fully customizable keybindings, including vim and Emacs modes
- Search and replace using regular expressions
- Highlight matching brackets
- Switch between soft tabs and real tabs
- Show hidden characters
- Use mouse to drag and drop text
- Wrap lines
- Code folding
- Multiple cursors and selections
- Live syntax checker (currently JavaScript/CoffeeScript/CSS/XQuery)
- Cut, copy and paste function
Quick start
- You can also use vue2-ace-editor directly and follow the steps to integrate
- Here we mainly record the use of ace-builds and encapsulate the Ace components in the project
Installation
npm?install?ace-builds?--save-dev復(fù)制代碼
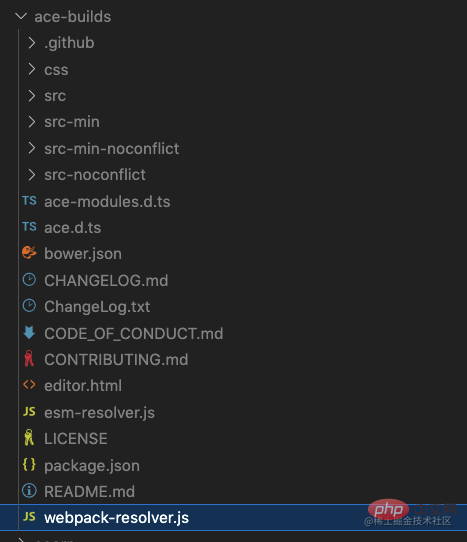
The effect after installation is as follows:
Integration
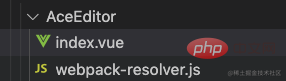
Create a new folder AceEditor
<template>
<div
ref="editorform"
style="height: 250px"
>
</div>
</template>
<script>
import ace from 'ace-builds'
import './webpack-resolver' // 自定義webpack-resolver,按需引入
import 'ace-builds/src-noconflict/mode-json'
import 'ace-builds/src-noconflict/mode-mysql'
import 'ace-builds/src-noconflict/mode-text'
import 'ace-builds/src-noconflict/theme-tomorrow'
import 'ace-builds/src-min-noconflict/ext-language_tools'
import { onMounted, onBeforeUnmount, ref, watch } from '@vue/composition-api'
export default {
name: 'AceEditor',
emits: ['onChange'],
props: {
value: {
type: String,
default: '',
},
// 這里可以接收更多組件傳遞的參數(shù),做一些自定義效果
},
setup(props, vm) {
let editor = null
const editorform = ref(null)
let options = {
theme: 'ace/theme/tomorrow', // 主題
mode: 'ace/mode/mysql', // 代碼匹配模式
tabSize: 2, //標(biāo)簽大小
fontSize: 14, //設(shè)置字號(hào)
wrap: true, // 用戶輸入的sql語(yǔ)句,自動(dòng)換行
enableSnippets: true, // 啟用代碼段
showLineNumbers: true, // 顯示行號(hào)
enableLiveAutocompletion: true, // 啟用實(shí)時(shí)自動(dòng)完成功能 (比如:智能代碼提示)
enableBasicAutocompletion: true, // 啟用基本自動(dòng)完成功能
scrollPastEnd: true, // 滾動(dòng)位置
highlightActiveLine: true, // 高亮當(dāng)前行
}
const init = () => {
if (editor) {
//實(shí)例銷毀
editor.destroy()
}
//初始化
editor = ace.edit(editorform.value, options)
editor.setValue(props.value ? props.value : '') // 設(shè)置內(nèi)容
editor.on('change', () => {
vm.emit('onChange', editor.getValue())
})
}
onMounted(() => {
init()
})
onBeforeUnmount(() => {
editor.destroy()
editor.container.remove()
})
return {
editorform
}
},
}
</script>
<style>
@import '~ace-builds/css/ace.css';
</style>About the optimization of webpack-resolver.js
In the webpack environment, webpack-resolver.js needs to be imported. Let’s take a look at node_modules/ace-builds/webpack-resolver first. .js file, most of the modules in it are not used by us. If imported directly, it will greatly increase the size of the project package, so we need to do some optimization here:Introduce on demandIn the AceEditor file , create a new webpack-resolver.js, the code is as follows: 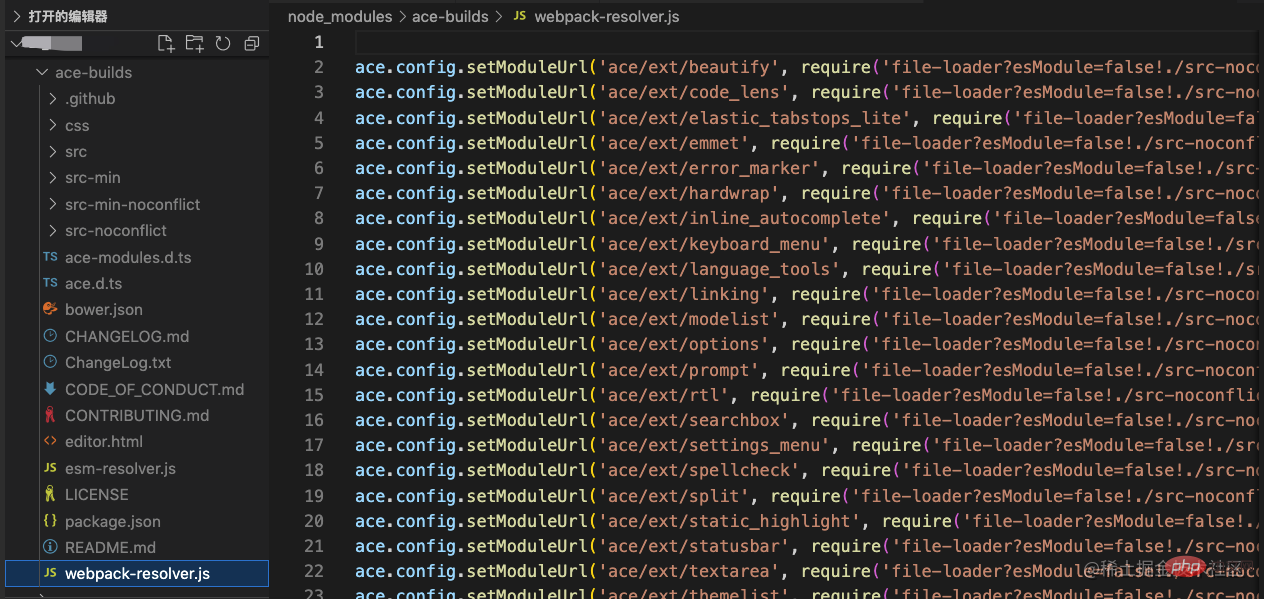
ace.config.setModuleUrl('ace/mode/mysql', require('file-loader?esModule=false!ace-builds/src-noconflict/mode-mysql.js'))
ace.config.setModuleUrl('ace/mode/text', require('file-loader?esModule=false!ace-builds/src-noconflict/mode-text.js'))
ace.config.setModuleUrl('ace/mode/json', require('file-loader?esModule=false!ace-builds/src-noconflict/mode-json.js'))
ace.config.setModuleUrl('ace/theme/tomorrow', require('file-loader?esModule=false!ace-builds/src-noconflict/theme-tomorrow.js'))
ace.config.setModuleUrl('ace/ext/language_tools', require('file-loader?esModule=false!ace-builds/src-noconflict/ext-language_tools.js'))
In the src directory of the project, create a new registerAce.js
import ACE from '@/components/AceEditor' // 這里是你創(chuàng)建的AceEditor文件夾的路徑

export default {
  install(Vue) {
    Vue.component('ace', ACE)
  },
}
Introduce the Ace module into the entry file main.js of the Vue project, Vue.use() globally registers ace components import ace from 'ace-builds' import RegistAce from './registAce' Vue.use(ace) Vue.use(RegistAce)Use ace components (global components)
<ace v-model="content" @onChange="onChange"> </ace>Above, the simple integration of Ace is completed in the Vue project. For more functions, please refer to the official website : Configuration items
Official website wiki:Core ace components (
editor, session, renderer, mouseHandler) implement optionProvider interface
setOption(optionName, optionValue)
setOptions({
    optionName : optionValue
    ...
})
getOption(optionName)
getOptions()
The following are List of configuration options. Unless otherwise stated, option values ??are Boolean.
editor.setOption will also modify session/renderer/$mouseHandleroptions associated with it
editor options
| Option name | Value type | Default value | Optional value | Function |
|---|---|---|---|---|
| String | text | line | text | Selected style | |
| Boolean | true | - | Highlight the current line | |
| Boolean | true | - | Highlight selected text | |
| Boolean | false | - | Whether it is read only | |
| String | ace | ace | slim | smooth | wide | Cursor style | |
| String | Boolean | false | always | Merge Undo | |
| Boolean | true | - | Enable Behavior | |
| Boolean | true | - | Enable line wrapping | |
| Boolean | false | - | Enable scrolling | |
| Boolean | true | - | Copy spaces | |
| Boolean | false | - | Use SoftTabs | |
| Boolean | false | - | Soft tab jump | |
| Boolean | false | - | Select multiple places |
| Value type | Default value | Optional value | Function | |
|---|---|---|---|---|
| Boolean | false | - | The vertical scroll bar is always visible | |
| Boolean | false | - | The horizontal scroll bar is always visible | |
| Boolean | true | - | Highlighted Edge | |
| Boolean | false | - | Scroll animation | |
| Boolean | false | - | Show invisible characters | |
| Boolean | true | - | Display print margins | |
| Number | 80 | - | Set page margin | |
| Boolean | Number | false | - | Display and set page Margin | |
| Boolean | false | - | Fade FoldWidgets | |
| Boolean | true | - | Show FoldWidgets | |
| Boolean | true | - | show line number | |
| Boolean | true | - | Display line number area | |
| Boolean | true | - | Show reference line | |
| Number | String | inherit | - | Set font size | |
| String | inherit |
Set font |
||
| Number | - | - | Maximum number of lines | |
| Number | - | - | At least the number of lines | |
| Boolean | Number | 0 | - | Scroll Position | |
| Boolean | false | - | Fixed line number area width | |
| String | - | - | Theme reference path, such as "ace/theme/textmate" |
| Value type | Default value | Optional value | Remarks | |
|---|---|---|---|---|
| Number | - | - | Scroll Speed | |
| Number | - | - | Drag Delay | |
| Boolean | true | - | Whether drag is enabled | |
| Number | - | - | Focus Timeout | |
| Boolean | false | - | Mouse Tip |
| Option name | Value type | Default value | Optional value | Remarks |
|---|---|---|---|---|
| firstLineNumber | Number | 1 | - | Starting line number |
| overwrite | Boolean | - | - | Redo |
| newLineMode | String | auto | auto | unix | windows | New Line Mode |
| useWorker | Boolean | - | - | Use helper objects |
| useSoftTabs | Boolean | - | - | Use soft tags |
| tabSize | Number | - | - | Tag size |
| wrap | Boolean | - | - | Line break |
| foldStyle | String | - | markbegin | markbeginend | manual | Collapse style |
| mode | String | - | - | Code Match pattern, such as "ace/mode/text" |
editor options defined by extensions
| Option name | Value type | Default value | Optional value | Remarks |
|---|---|---|---|---|
| enableBasicAutocompletion | Boolean | - | - | Enable Basic Autocompletion |
| enableLiveAutocompletion | Boolean | - | - | Enable real-time autocomplete |
| enableSnippets | Boolean | - | - | Enable snippet |
| enableEmmet | Boolean | - | - | Enable Emmet |
| useElasticTabstops | Boolean | - | - | use Flexible tab stops |
Solving the problem of cursor misalignment
When inputting content in the editor, the problem of cursor misalignment will occur. It initially looks like Normally, the more content you input, the more the cursor will be misaligned.  After troubleshooting, it was found that the calculation was inaccurate because of the use of non-monospaced fonts. Set the font in the edit box to Monowidth font can solve the problem
??Note: There is still a small pit here. When setting the monowidth font, you need to distinguish between Mac and Windows
- Can be done under Mac Use
monospacefont - You can use
Consolasfont under Windows
Reference website/source code
The above is the detailed content of Detailed graphic explanation of how to integrate the Ace code editor in a Vue project. For more information, please follow other related articles on the PHP Chinese website!

Hot AI Tools

Undress AI Tool
Undress images for free

Undresser.AI Undress
AI-powered app for creating realistic nude photos

AI Clothes Remover
Online AI tool for removing clothes from photos.

Clothoff.io
AI clothes remover

Video Face Swap
Swap faces in any video effortlessly with our completely free AI face swap tool!

Hot Article
Hot Tools

Notepad++7.3.1
Easy-to-use and free code editor

SublimeText3 Chinese version
Chinese version, very easy to use

Zend Studio 13.0.1
Powerful PHP integrated development environment

Dreamweaver CS6
Visual web development tools

SublimeText3 Mac version
God-level code editing software (SublimeText3)
Hot Topics


 WebSocket and JavaScript: key technologies for implementing real-time monitoring systems
Dec 17, 2023 pm 05:30 PM
WebSocket and JavaScript: key technologies for implementing real-time monitoring systems
Dec 17, 2023 pm 05:30 PM
WebSocket and JavaScript: Key technologies for realizing real-time monitoring systems Introduction: With the rapid development of Internet technology, real-time monitoring systems have been widely used in various fields. One of the key technologies to achieve real-time monitoring is the combination of WebSocket and JavaScript. This article will introduce the application of WebSocket and JavaScript in real-time monitoring systems, give code examples, and explain their implementation principles in detail. 1. WebSocket technology
 How to implement an online speech recognition system using WebSocket and JavaScript
Dec 17, 2023 pm 02:54 PM
How to implement an online speech recognition system using WebSocket and JavaScript
Dec 17, 2023 pm 02:54 PM
How to use WebSocket and JavaScript to implement an online speech recognition system Introduction: With the continuous development of technology, speech recognition technology has become an important part of the field of artificial intelligence. The online speech recognition system based on WebSocket and JavaScript has the characteristics of low latency, real-time and cross-platform, and has become a widely used solution. This article will introduce how to use WebSocket and JavaScript to implement an online speech recognition system.
 How to use JavaScript and WebSocket to implement a real-time online ordering system
Dec 17, 2023 pm 12:09 PM
How to use JavaScript and WebSocket to implement a real-time online ordering system
Dec 17, 2023 pm 12:09 PM
Introduction to how to use JavaScript and WebSocket to implement a real-time online ordering system: With the popularity of the Internet and the advancement of technology, more and more restaurants have begun to provide online ordering services. In order to implement a real-time online ordering system, we can use JavaScript and WebSocket technology. WebSocket is a full-duplex communication protocol based on the TCP protocol, which can realize real-time two-way communication between the client and the server. In the real-time online ordering system, when the user selects dishes and places an order
 JavaScript and WebSocket: Building an efficient real-time weather forecasting system
Dec 17, 2023 pm 05:13 PM
JavaScript and WebSocket: Building an efficient real-time weather forecasting system
Dec 17, 2023 pm 05:13 PM
JavaScript and WebSocket: Building an efficient real-time weather forecast system Introduction: Today, the accuracy of weather forecasts is of great significance to daily life and decision-making. As technology develops, we can provide more accurate and reliable weather forecasts by obtaining weather data in real time. In this article, we will learn how to use JavaScript and WebSocket technology to build an efficient real-time weather forecast system. This article will demonstrate the implementation process through specific code examples. We
 Simple JavaScript Tutorial: How to Get HTTP Status Code
Jan 05, 2024 pm 06:08 PM
Simple JavaScript Tutorial: How to Get HTTP Status Code
Jan 05, 2024 pm 06:08 PM
JavaScript tutorial: How to get HTTP status code, specific code examples are required. Preface: In web development, data interaction with the server is often involved. When communicating with the server, we often need to obtain the returned HTTP status code to determine whether the operation is successful, and perform corresponding processing based on different status codes. This article will teach you how to use JavaScript to obtain HTTP status codes and provide some practical code examples. Using XMLHttpRequest
 Vue.js vs. React: Project-Specific Considerations
Apr 09, 2025 am 12:01 AM
Vue.js vs. React: Project-Specific Considerations
Apr 09, 2025 am 12:01 AM
Vue.js is suitable for small and medium-sized projects and fast iterations, while React is suitable for large and complex applications. 1) Vue.js is easy to use and is suitable for situations where the team is insufficient or the project scale is small. 2) React has a richer ecosystem and is suitable for projects with high performance and complex functional needs.
 How to get HTTP status code in JavaScript the easy way
Jan 05, 2024 pm 01:37 PM
How to get HTTP status code in JavaScript the easy way
Jan 05, 2024 pm 01:37 PM
Introduction to the method of obtaining HTTP status code in JavaScript: In front-end development, we often need to deal with the interaction with the back-end interface, and HTTP status code is a very important part of it. Understanding and obtaining HTTP status codes helps us better handle the data returned by the interface. This article will introduce how to use JavaScript to obtain HTTP status codes and provide specific code examples. 1. What is HTTP status code? HTTP status code means that when the browser initiates a request to the server, the service
 Is vue.js hard to learn?
Apr 04, 2025 am 12:02 AM
Is vue.js hard to learn?
Apr 04, 2025 am 12:02 AM
Vue.js is not difficult to learn, especially for developers with a JavaScript foundation. 1) Its progressive design and responsive system simplify the development process. 2) Component-based development makes code management more efficient. 3) The usage examples show basic and advanced usage. 4) Common errors can be debugged through VueDevtools. 5) Performance optimization and best practices, such as using v-if/v-show and key attributes, can improve application efficiency.
