Backups are one of those things that everyone knows is necessary, plans to make, but usually don't worry about until it is too late. Here is a quick, easy way to make a portable backup solution that you can connect to any PC you want.
Making My Own Portable Backup Solution
Throwing together your own portable backup is actually extremely easy; you really only need four things.
- A spare SSD. It could be NVMe or SATA.
- An external SSD enclosure
- A USB Cable
- A bit of time to configure the drive how you like it
I had a spare NVMe SSD lying around (a Western Digital's SN850x) and plenty of USB-C cables. All I needed to do was pick an enclosure that let's the SSD connect to my PC through a USB port. Ultimately, I settled on an enclosure from UGREEN that has a maximum transfer rate of 10Gbps.
At the time, that was the speed of the fastest USB-C Port on my PC, so it didn't make sense to spend extra on speed I couldn't use.
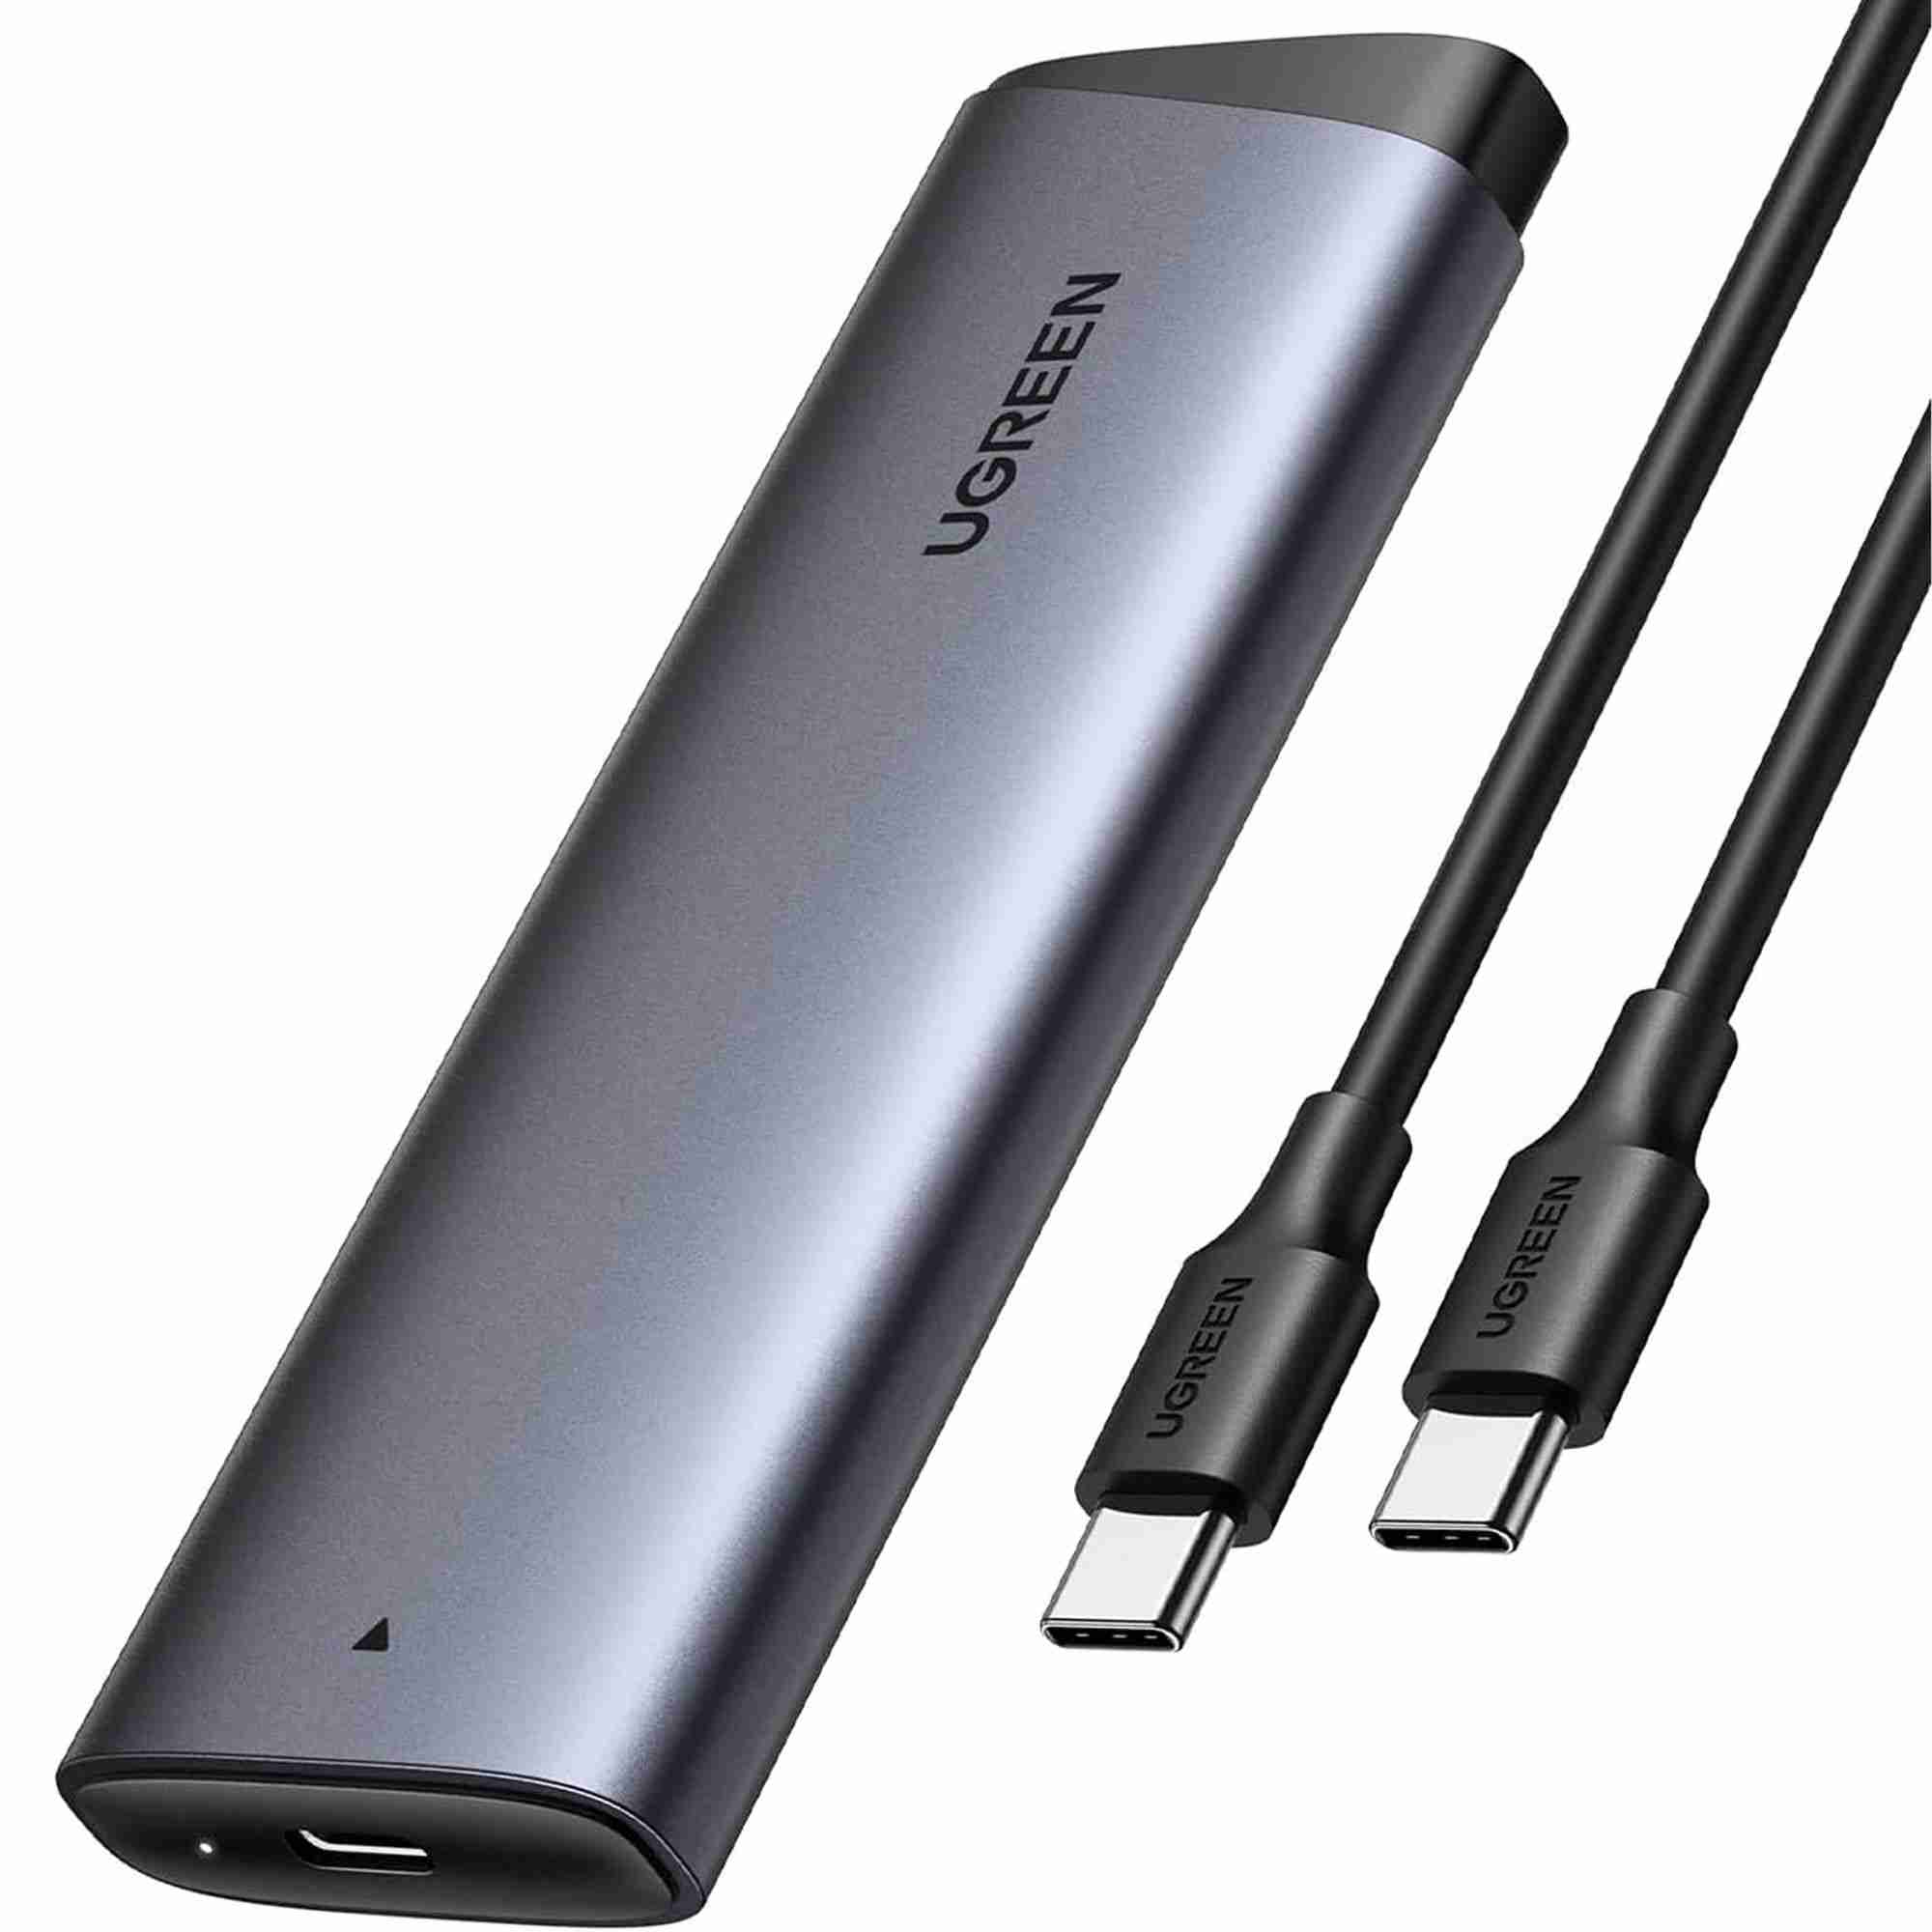
UGREEN M.2 NVMe SSD Enclosure 10Gbps USB 3.2 Gen 2
The UGREEN M.2 NVMe SSD Enclosure is perfect for assembling your own USB SSD at home. It offers 10Gbps transfer rates over USB 3.2 Gen 2, and accepts both M and M&B key M.2 PCIe SSDs. With a USB-C interface, it'll easily hook into your desktop or laptop to provide you with fast portable storage anywhere you go.
See at AmazonAll I had to do was format the drive and plug it in, then use whichever backup software was right. On Linux, I use rsync; on Windows, I use Robocopy.
Choose Your SSD
If you're making your own external backup, the first thing you need to do is get an actual SSD if you don't have one.
You could use a SATA SSD or an NVMe SSD, but I'd recommend buying an NVMe SSD if you're buying new—the cost of NVMe drives is about the same as SATA drives these days, and they're much faster and more compact.
The big thing to pay attention to is their speed.
The read and write speeds of drives are usually expressed in gigabytes per second (GB/s), while data transfer rates are usually expressed in terms of gigabits per second (Gb/s or Gbps—the lowercase b is the important part). There are 8 bits per byte, so any time you see a read or write speed given in gigabytes per second, you can just multiply by 8 to get your transfer speed in gigabits per second.
NVMe drives normally connect to your PC using the PCIe interface, which means they're extremely fast. Even PCIe 3.0 NVMe drives can have data rates above 3 GB/s (or 24 Gbps), PCIe 4.0 drives can reach a bit over 7GB/s (56 Gbps), and PCIe 5.0 drives regularly exceed 13GB/s (104 Gbps).
In practice, that means you're almost definitely going to be limited by the speed of the USB or Thunderbolt port on your PC rather than the speed of your drive. USB 3.2 2x2 has a maximum speed of 20 Gbps, USB 4 and Thunderbolt 4 have a maximum speed of 40Gbps, and Thunderbolt 5 and USB 4 v2 have maximum speeds of 80Gbps under normal conditions.
 Related
 Thunderbolt 5: What Is It, and How Much Faster Is It?
More power, more speed, and more possibilities.
That means that even the most sluggish PCIe 5.0 drives are going to be way faster than even the most cutting-edge USB-C ports on your PC, and there is no point in spending top dollar for extra speed you can't use. PCIe 5.0 drives also run extremely hot and sometimes even require active cooling, which adds cost and complexity to your drive enclosure.
Stick to PCIe 4.0 drives. I've been using an SN850x I picked up on sale and have been very pleased with its performance.
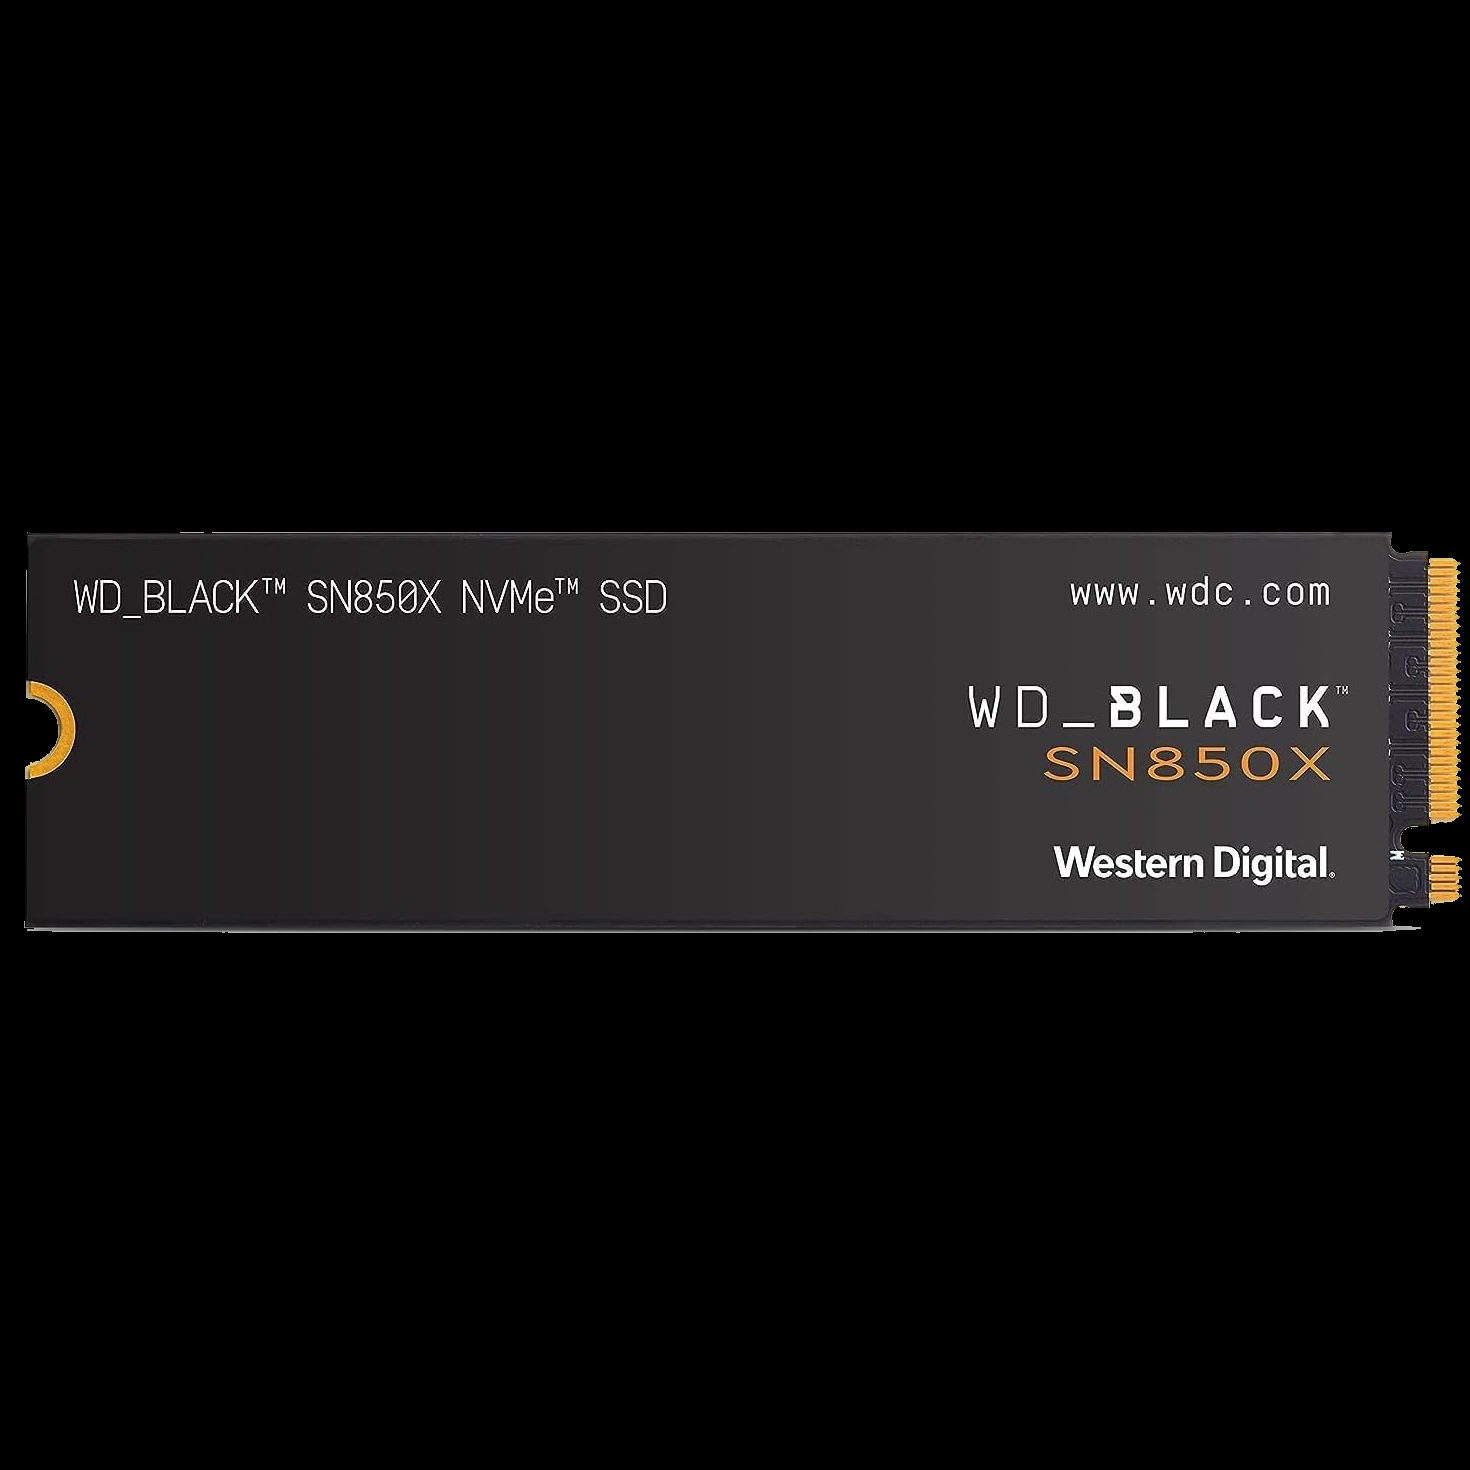
WD Black 1TB SN850X NVMe Internal Gaming SSD
This WD Black drive has Gen 4 speeds and it's perfect for your gaming rig or even your PlayStation 5.
See at AmazonSee at bestbuyChoose Your SSD Enclosure
Once you pick out your SSD, you need to pick an enclosure.
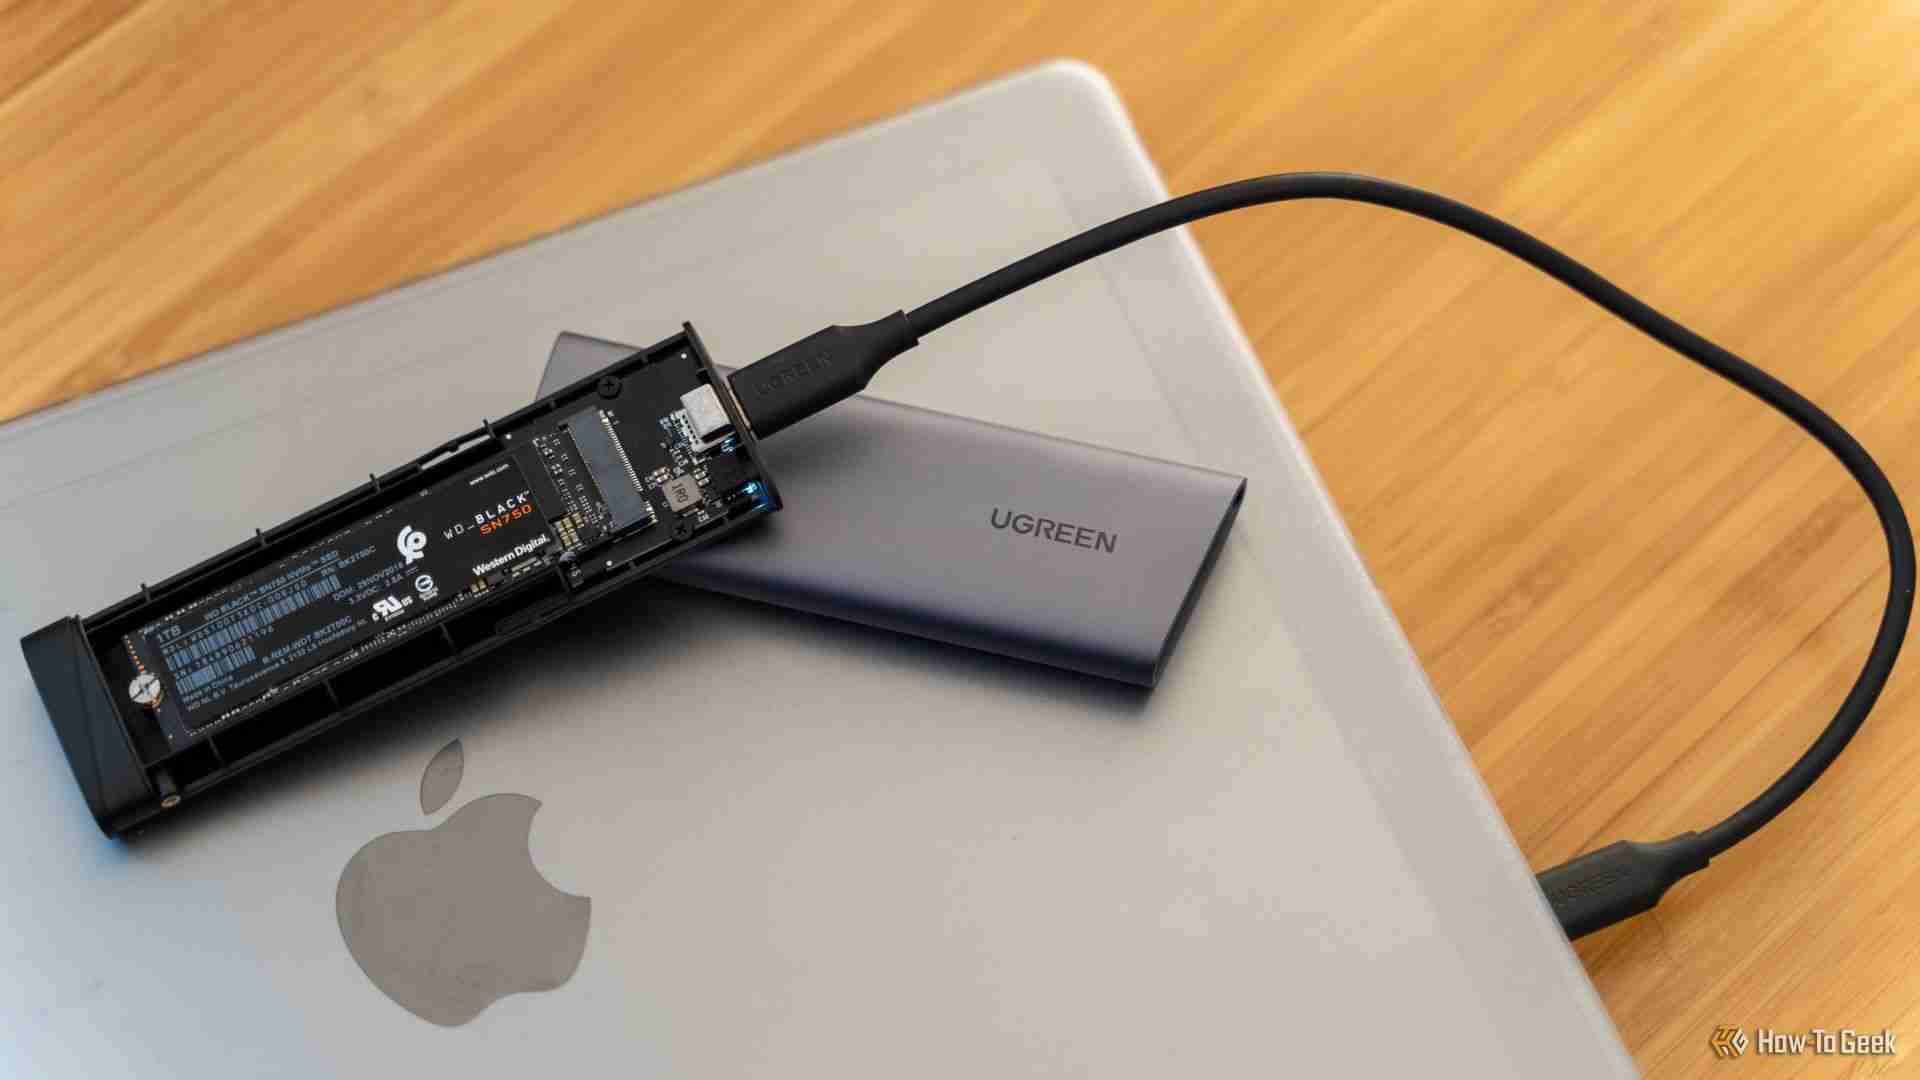
Why I Built My External SSD Instead of Buying a Premade One
Building your SSD is easy, fun, and can be cheap too!
6Just like with the SSD itself, you should only buy an enclosure that matches what you're actually going to use. At the time I threw my enclosure together, the fastest USB port on my PC topped out at 10Gbps, so I purchased a 10Gps enclosure.
You can consult your motherboard manual to figure out what the fastest port on your PC is, but once you do, here is a small chart showing what enclosure speed is worth buying if you have any given port.
A red X indicates that the port in question won't be able to handle the speed of the enclosure, and that you should consider buying something else. A green and white check indicates that the port is at least as fast as the enclosure.
| USB 3.2 1x1 | USB 3.2 2x1 / USB 3.2 1x2 | USB 3.2 2x2 | USB 4 / Thunderbolt 4 | USB 4 v2 / Thunderbolt 5 | |
|---|---|---|---|---|---|
| Enclosure Speed 5Gbps | ? | ? | ? | ? | ? |
| Enclosure Speed 10Gbps | ? | ? | ? | ? | ? |
| Enclosure Speed 20Gbps | ? | ? | ? | ? | ? |
| Enclosure Speed 40Gbps | ? | ? | ? | ? | ? |
| Enclosure Speed 80Gbps | ? | ? | ? | ? | ? |
Put Everything Together
Once you have your enclosure and SSD in hand, all you need to do is put them together. Usually you don't need any tools for this, but you may need a small screwdriver.
In my case, it was as simple as sliding open the enclosure, slotting in the SSD, turning the small silicone retainer to hold the drive in place, and then closing it back up again.

Setting Up Your Backups
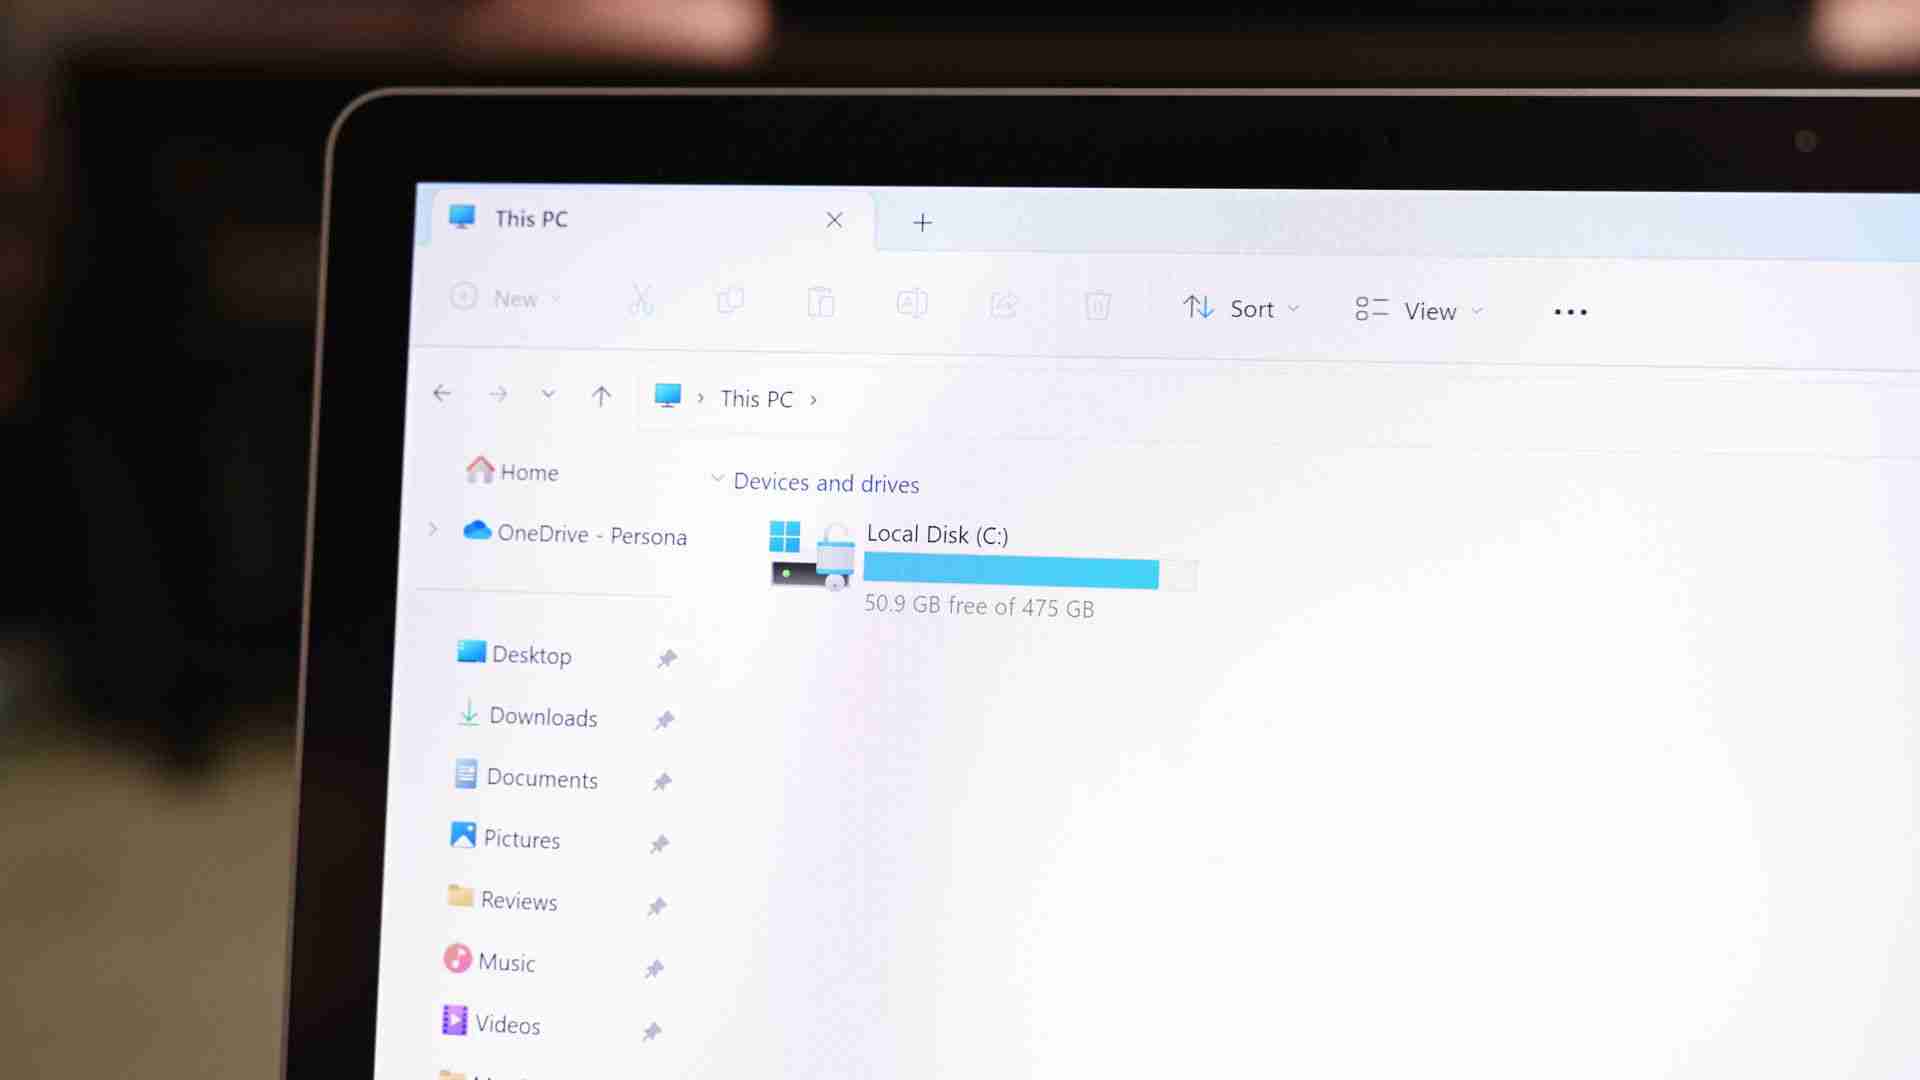
Once you've physically assembled the drive and the enclosure, the only thing left to do is format the drive.
 Related
 How to Format a Hard Drive or SSD on Windows 11
Wipe and prepare your drive for an exciting life of data storage adventures.
I'm going to be moving the drive between a Windows desktop PC and a Linux laptop, so I opted to format the drive as exFAT, which is compatible with all major operating systems. If you're going to exclusively use the drive on Windows PCs, you should probably use NTFS instead.
I don't care too much about backing up my operating system settings, so I just set up rsync on my laptop to back up a few important folders, and I configured robocopy to back up my files on Windows 11.
If you do want to create restore points for your operating systems, you'll need to create two separate partitions on your portable SSD. One will be formatted as NTFS and will be used to save Windows 11 restore points, and the other needs to be ext4, so that you can use Timeshift on Linux.
Remember, SSDs don't fare well if they're left unpowered for a long period of time. You run a real risk of losing data.
If you're looking to store information for longer, a mechanical hard drive kept in a cool, dry place is probably safer. And if you want really long-term backups, then I'd suggest printing physical copies and storing them somewhere safe.
The above is the detailed content of How To Make a Portable SSD Backup Drive. For more information, please follow other related articles on the PHP Chinese website!

Hot AI Tools

Undress AI Tool
Undress images for free

Undresser.AI Undress
AI-powered app for creating realistic nude photos

AI Clothes Remover
Online AI tool for removing clothes from photos.

Clothoff.io
AI clothes remover

Video Face Swap
Swap faces in any video effortlessly with our completely free AI face swap tool!

Hot Article

Hot Tools

Notepad++7.3.1
Easy-to-use and free code editor

SublimeText3 Chinese version
Chinese version, very easy to use

Zend Studio 13.0.1
Powerful PHP integrated development environment

Dreamweaver CS6
Visual web development tools

SublimeText3 Mac version
God-level code editing software (SublimeText3)

Hot Topics
 How to remove password from Windows 11 login
Jun 27, 2025 am 01:38 AM
If you want to cancel the password login for Windows 11, there are three methods to choose: 1. Modify the automatic login settings, uncheck "To use this computer, users must enter their username and password", and then restart the automatic login after entering the password; 2. Switch to a passwordless login method, such as PIN, fingerprint or face recognition, configure it in "Settings>Account>Login Options" to improve convenience and security; 3. Delete the account password directly, but there are security risks and may lead to some functions being limited. It is recommended to choose a suitable solution based on actual needs.
 I Became a Windows Power User Overnight With This New Open-Source App from Microsoft
Jun 20, 2025 am 06:07 AM
Like many Windows users, I am always on the lookout for ways to boost my productivity. Command Palette quickly became an essential tool for me. This powerful utility has completely changed how I interact with Windows, giving me instant access to the
 How to uninstall programs in Windows 11?
Jun 30, 2025 am 12:41 AM
There are three main ways to uninstall programs on Windows 11: 1. Uninstall through "Settings", open the "Settings" > "Apps" > "Installed Applications", select the program and click "Uninstall", which is suitable for most users; 2. Use the control panel, search and enter "Control Panel" > "Programs and Functions", right-click the program and select "Uninstall", which is suitable for users who are accustomed to traditional interfaces; 3. Use third-party tools such as RevoUninstaller to clean up more thoroughly, but pay attention to the download source and operation risks, and novices can give priority to using the system's own methods.
 How to run an app as an administrator in Windows?
Jul 01, 2025 am 01:05 AM
To run programs as administrator, you can use Windows' own functions: 1. Right-click the menu to select "Run as administrator", which is suitable for temporary privilege hike scenarios; 2. Create a shortcut and check "Run as administrator" to achieve automatic privilege hike start; 3. Use the task scheduler to configure automated tasks, suitable for running programs that require permissions on a scheduled or background basis, pay attention to setting details such as path changes and permission checks.
 Windows 11 Is Bringing Back Another Windows 10 Feature
Jun 18, 2025 am 01:27 AM
This might not be at the top of the list of features people want to return from Windows 10, but it still offers some usefulness. If you'd like to view the current minutes and seconds without turning on that display in the main taskbar clock (where it
 Windows 10 KB5061087 fixes Start menu crash, direct download links
Jun 26, 2025 pm 04:22 PM
Windows 10 KB5061087 is now rolling out as an optional preview update for those on version 22H2 with Start menu fixes.
 Microsoft: DHCP issue hits KB5060526, KB5060531 of Windows Server
Jun 26, 2025 pm 04:32 PM
Microsoft confirmed that the DHCP server service might stop responding or refuse to connect after the June 2025 Update for Windows Server.
 Building Your First Gaming PC in 2025: What You Actually Need
Jun 24, 2025 am 12:52 AM
In the past, I always viewed the i5 lineup as anemic when it came to gaming. However, in 2025, a mid-range CPU is more than enough to start your gaming journey. Many games still don’t fully utilize multi-core performance as well as they could, so


